In this tutorial, you will learn how to work with embedded contact forms. You can insert a contact form or your own custom form on the page, which you can then modify as you wish.
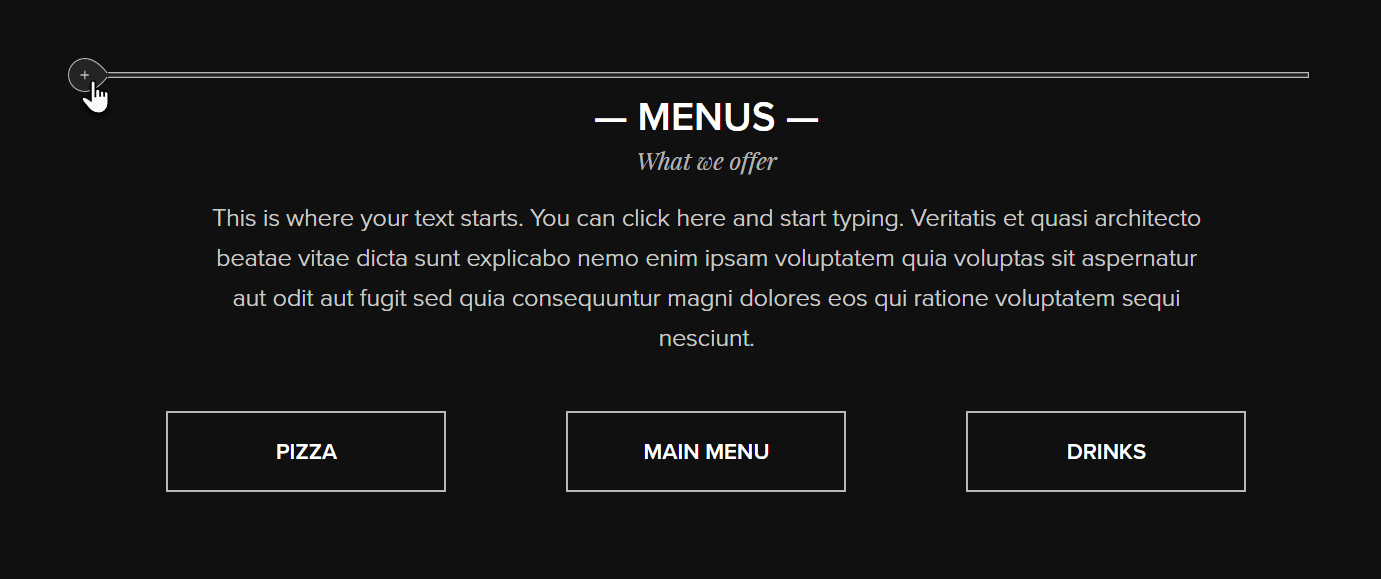
1. To insert a form, move the mouse over the content section and click the plus button to add a new content block.
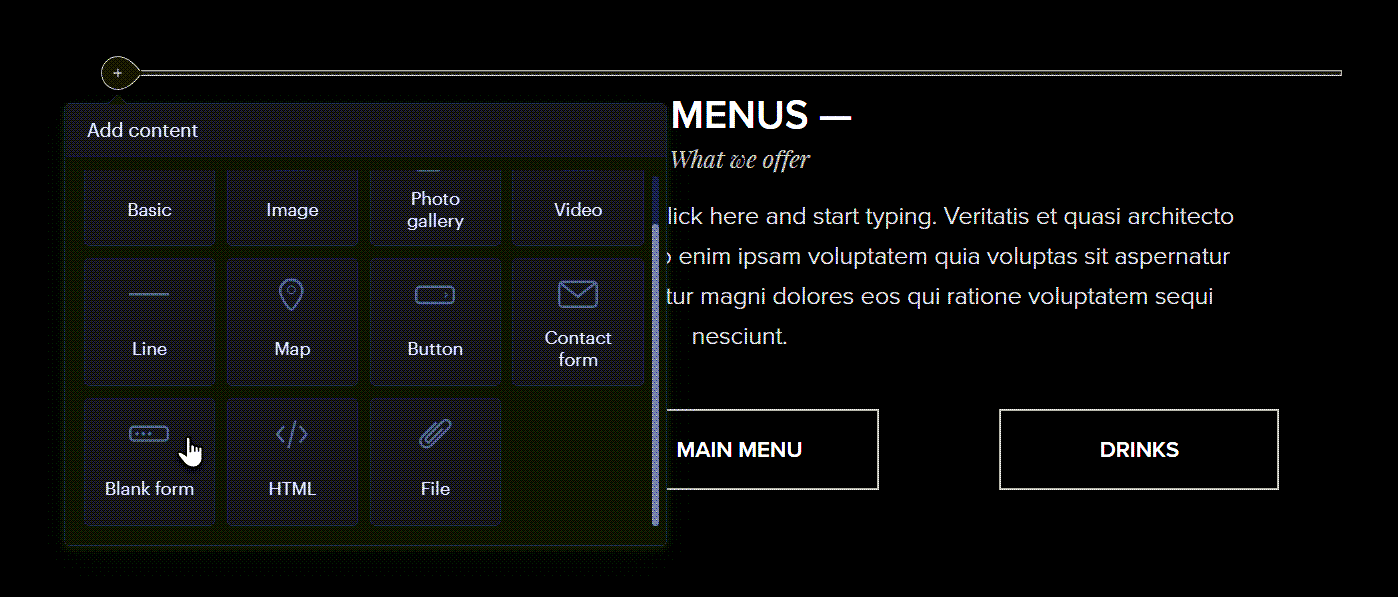
2. Scroll down the menu and select Blank form.
In the next steps, we will show you how to work with the form:
- Adding new items
To add new fields, click the plus button to add a new row.

- Renaming items
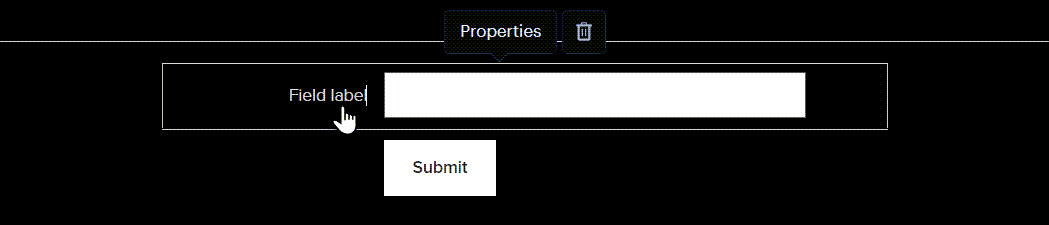
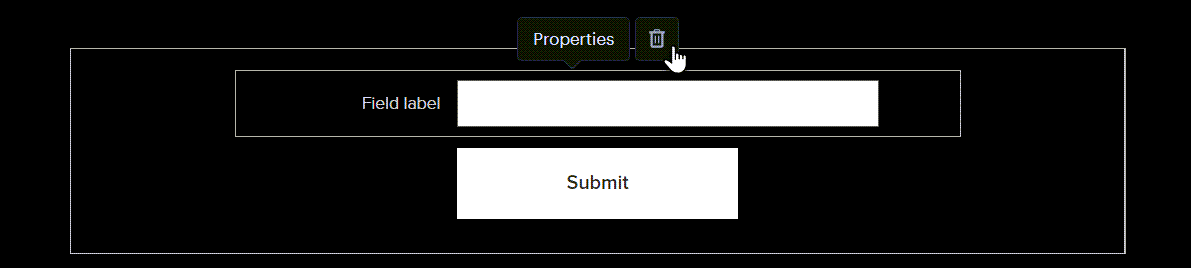
Items can be renamed by clicking on the item name.
- Required field
Click on the item, then Properties. Here it is possible to choose whether filling in this field will be mandatory or not.

- Form submission settings
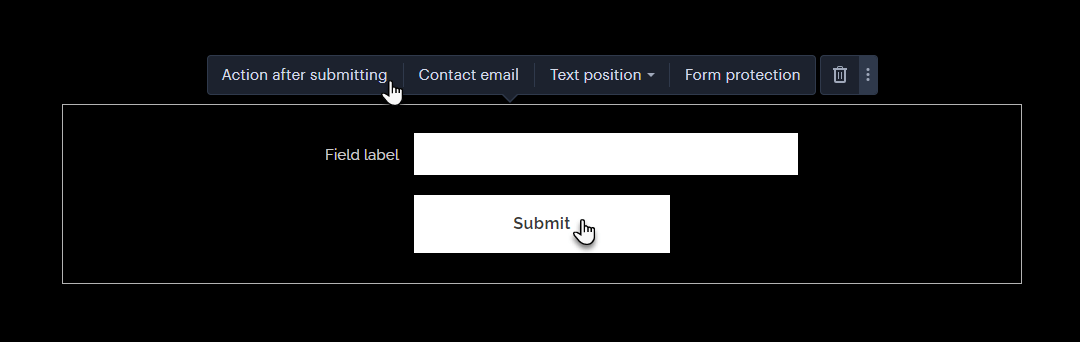
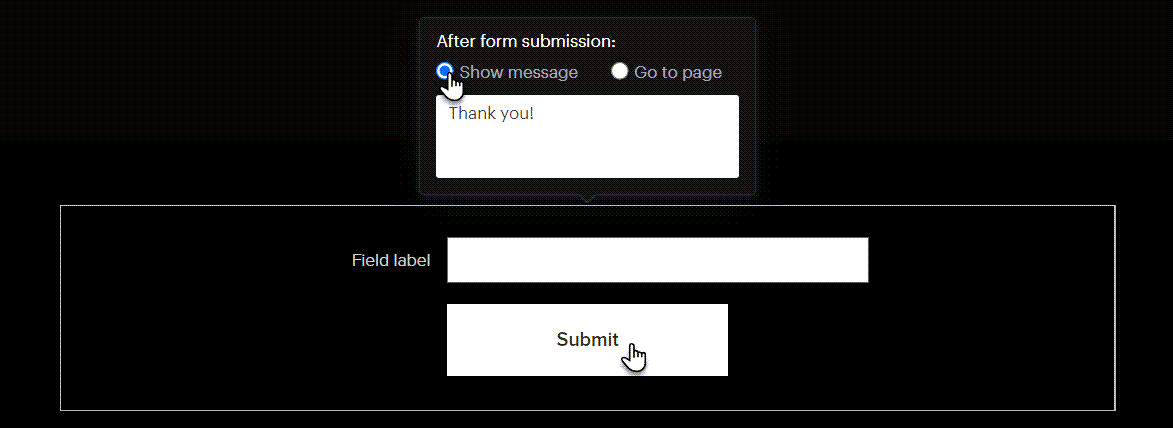
By clicking on the form itself, then on Action after submitting, you will be able to choose what happens after the form is submitted.
The page can display any text that you add after checking the Show message option:
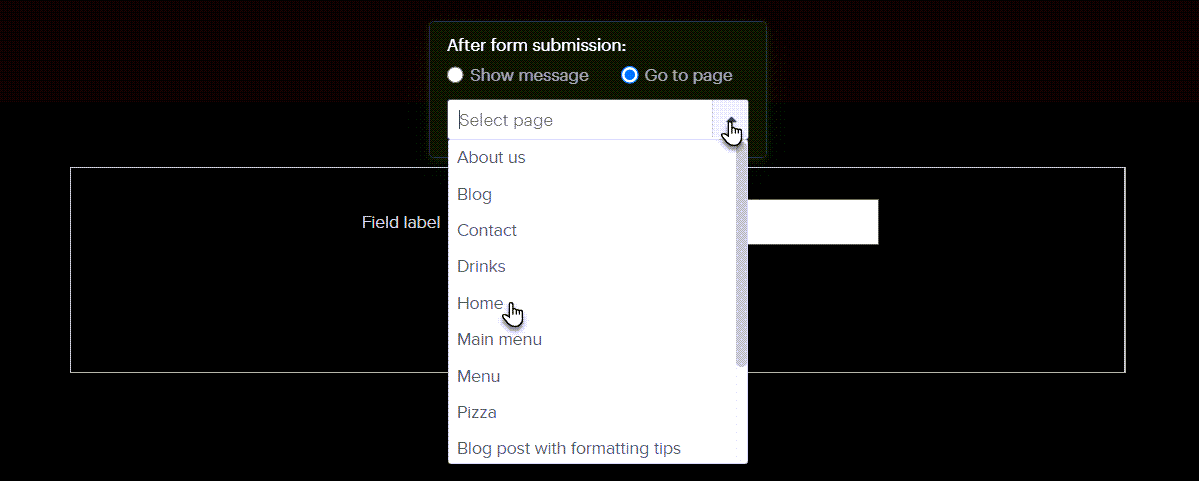
Another option is to redirect the visitor to another page of your website or to an external website. Check Go to page and after clicking the arrow, select the page to which the site visitor will be redirected. It is also possible to enter the address of an external website in the Select page field.
After clicking on the Contact email button, you can enter the email address where notifications of submitted forms will go.
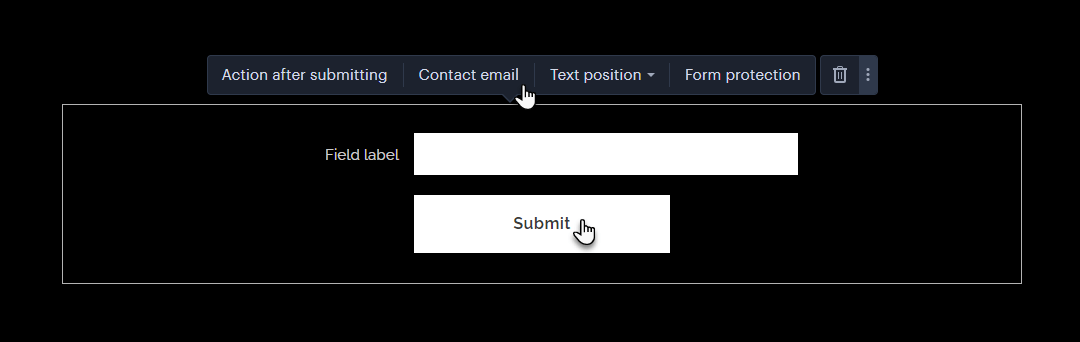
With the Text position button, you can adjust the option of where the text labels of individual fields will be displayed.

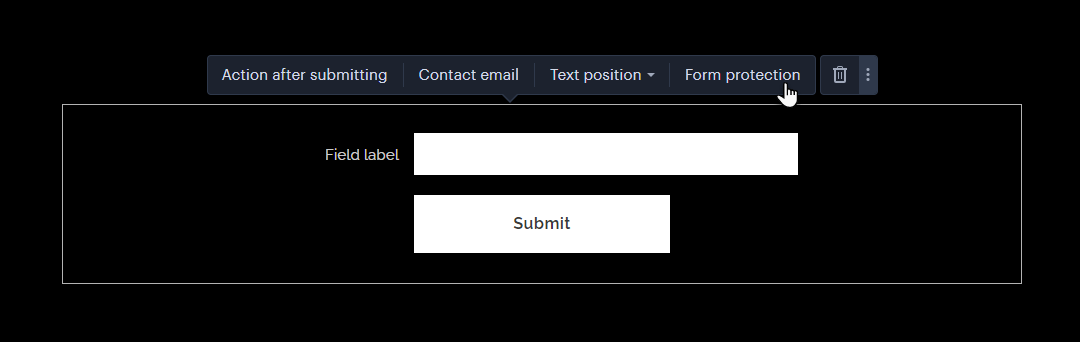
The Form protection button will redirect you to the administration of the premium security service. Purchase instructions can be found in the article How to purchase Premium Site Security, and more instructions are in the article How to set up form security (reCAPTCHA).
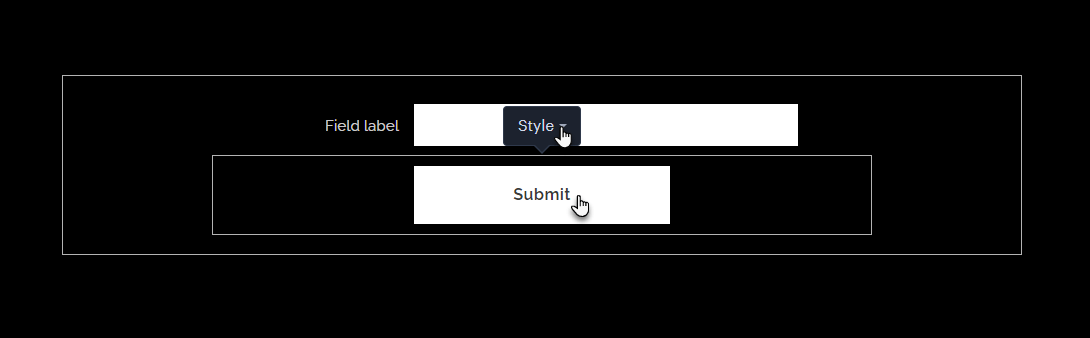
You can override the button label after clicking the Submit button (default label). Here you can also select the Appearance option and the button display style.
- Deleting items
Click on the item, then click on the trash can icon.
Was this article helpful?
That’s Great!
Thank you for your feedback
Sorry! We couldn't be helpful
Thank you for your feedback
Feedback sent
We appreciate your effort and will try to fix the article